November 3 2015

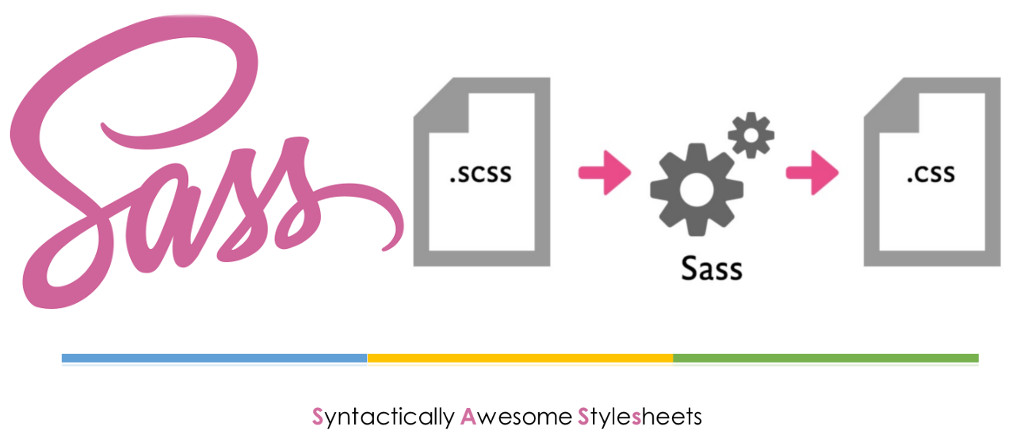
Sass is a stylesheet scripting language, an extension of CSS3. Sass (and other CSS preprocessors) can be a powerful ally, a tool that any style-crafter can easily insert into your daily work. It plugs the holes in CSS as a language, allowing you to write DRY code that will be faster, more efficient and easier to maintain.
Depending on what type of your operating system and the ability to work with command line there are a few ways how to install Sass.
If you don’t want to use the command line there area few installers some of them are paid but there are also a few of them that are free.
Hammer (Paid) (Mac)
Koala (Open Source) (Mac, Win, Lin)
Prepros (Paid) (Mac, Win & Lin)
Scout (Open Source) (Mac, Win)
The following ones are no longer working:
CodeKit (Paid) (Mac)
Compass.app (Paid, Open Source) (Mac, Win & Lin)
Ghostlab (Paid) (Mac, Win)
LiveReload (Paid, Open Source) (Mac, Win)
If you are quite familiar with using the command line you can use the following commands, depending on the OS that you are using:
If you’re using a distribution of Linux, you’ll need to install Ruby first. You can install Ruby through the apt package manager, rbenv, or rvm.
sudo su -c "gem install sass"
Before you start using Sass you will need to install Ruby. The fastest way to get Ruby on your Windows computer is to use Ruby Installer. It’s a single-click installer that will get everything set up for you super fast. The installer will also install a Ruby command line powershell application that will let you use the Ruby libraries.
If you prefer the command line over an application then getting Sass set up is a fairly quick process. Sass has a Ruby dependency but if you’re using a Mac, congratulations, Ruby comes pre-installed.
For more info you can always check the official site of SASS.

There can be a situation (and this actually has happened to me a few times), where the client wants his brand colour for instance to be “more red” and you should manually change that colour everywhere in the CSS. This can be done with Sass. You can define a variable for that colour and change its value in one place that will reflect in the entire stylesheet where the variable is used.
$brand-color: #b20000;

a {

  color: $brand-color;

}

nav {

  background-color: $brand-color;

}
Another simple and very handy example is the following one. Using Mixins for repeated blocks of styles that are used in various locations throughout the stylesheet. Mixin is a reusable block, defined only once but included wherever you needed them.
CSS only:
p {

  margin-bottom: 20px;

  font-size: 14px;

  line-height: 1.5;

}

footer {

  margin-bottom: 20px;

  font-size: 14px;

  line-height: 1.5;

}
Sass:
@mixin default-type {

  margin-bottom: 20px;

  font-size: 14px;

  line-height: 1.5;

}

p {

  @include default-type;

}

footer {

  @include default-type;

}
Recently one of our Web Developers at Webski organised an internal crash course for Sass that inspired me to write this post and he was more than happy to share his slides.
Feel free to download the Sass Presentation or the Sass e-book